Most people think you need a photographer’s bag full of gear to enjoy a solar eclipse. Telescopes. Tracking mounts. Telephoto lenses. Expensive solar filters. Serious eclipse photographers pack like this, sure. But the reality? Many travelers bring surprisingly little.
And it is going to be messy on August 12.
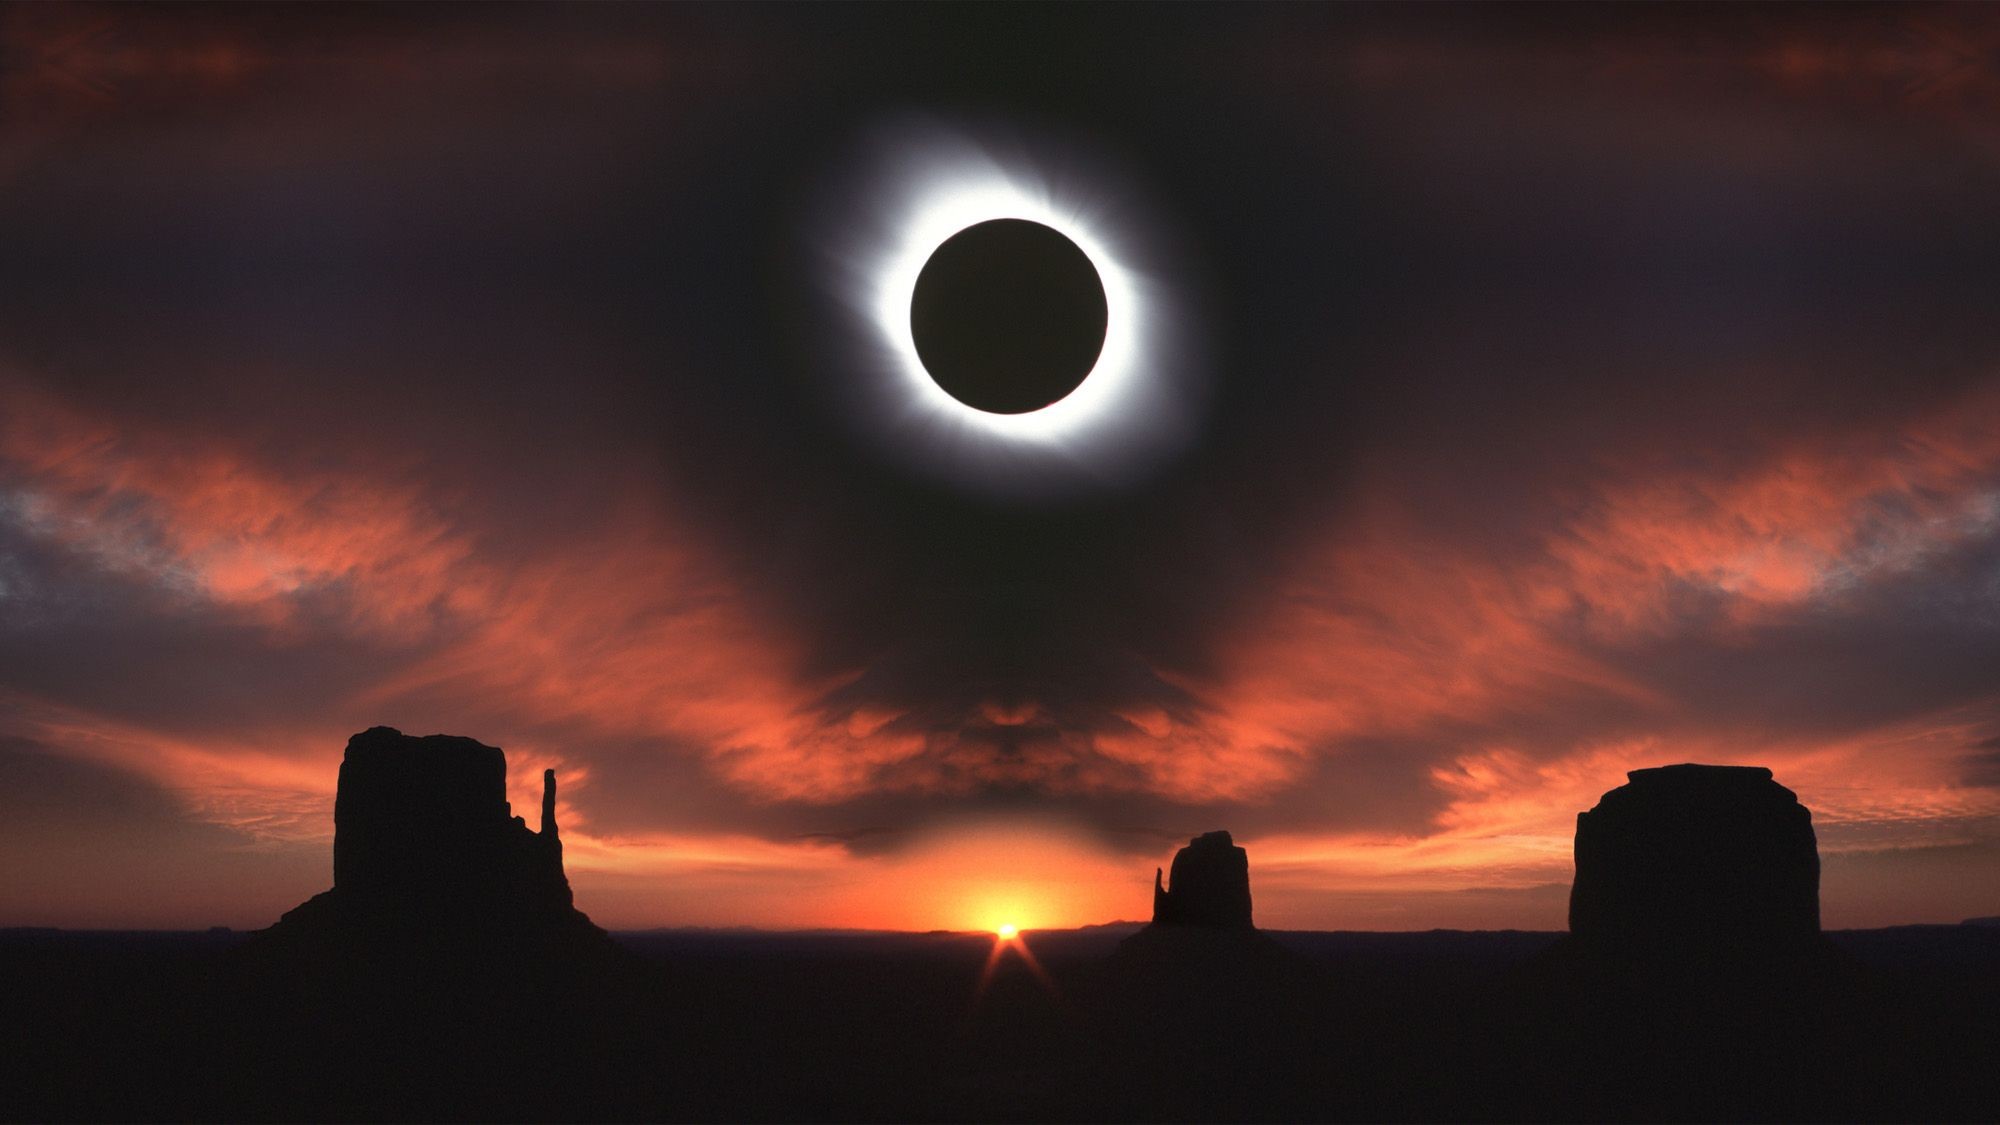
The total solar eclipse crossing Greenland, Iceland, and Spain is the headline. A partial eclipse will touch Europe, Canada, and the U.S. Northeast. But that won’t be the only show. Just hours after totality ends, the Perseid meteor shower hits its peak under moonless skies.
So your solar eclipse kit needs a second purpose. You are looking at a double-header. Day and night. Two celestial events in 24 hours.
Here is how to build a kit for both, based on what you can spend.
Under $50: The basics for a solar eclipse
If you are watching this with less than $50 in your pocket, you are not out of luck. You do not need much. You just need to be careful.
Your first purchase is safety. Certified eclipse glasses. Look for the ISO 12312-1 standard (or ISO 12312-3 for filters). Buy them from safe suppliers. Buy more than you need, because someone nearby will forget theirs.
A handheld solar viewer is a nice upgrade from glasses. Larger lens. More comfortable.
Use the rest of that budget for comfort, not astronomy. Eclipse days involve standing around. Waiting. A compact power bank keeps your phone alive for photos. A reclining lawn chair is essential. Why? Because you will need that same chair later, when the Perseids start falling.
If you have eclipse glasses and a clear sky, you have everything you need to see something extraordinary. The rest is luxury.
Under $200: Best binoculars for a partial solar eclipse
Around $200 is the sweet spot. This is where you start thinking about binoculars.
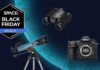
For most people, dedicated solar binoculars are the single best upgrade. They are cheap, light, and easy.
Options like the Celestron EclipSmart or Lunt mini sunoculars work well. The Lunt 8x32s are often cited as the easiest to use. Beginners often struggle to find the sun through regular lenses. These dedicated tools make it obvious.
Solar binoculars show you sunspots. They show the moon’s slow crawl across the solar surface. It is engaging. It adds detail that eclipse glasses cannot match.
But here is the catch: Do not use solar binoculars if you are in the path of totality.
The partial phase is fine to watch through glasses. But totality? The corona? The diamond ring effect? You need to see that with the naked eye. Or with conventional binoculars.
Get a good pair of 10x42s or 10x50s. They show the solar corona. They show prominences—loops of plasma shooting from the sun. And when the sky goes black? Switch modes. Use those same binoculars to sweep the Milky Way for the Perseids.
Want to make conventional binoculars safe for the partial phases? Use filters. Products like DayStar Filters or Baader AstroSolar Safety Film can turn any binoculars into temporary solar tools. Just filter one lens and cap the other. Never look directly through both.
Over $500: Smart telescopes for eclipse photography
At $500, things get complicated. Or simple, depending on your view.
This is the entry point for smart telescopes. Devices like the Seestar S30, DwarfLab Mini, or Vaonis Vespera Pro. These are portable. They track automatically. They handle the hard work for you.
Why does this matter?
Because you are also trying to watch a meteor shower later. You cannot stare at a monitor while looking at the sky with your naked eyes.
A smart telescope changes that dynamic. Put a solar filter on it. Let it track the sun. It captures the partial phases automatically. You don’t need to babysit it.
When totality hits? Take the filter off. Put it on the mount for a few seconds to capture the corona. Then put it back on before the sun returns.
This frees you up. You can spend totality looking up. You can spend the Perseid peak looking up. The camera does the heavy lifting.
Make sure your smart telescope kit includes or allows for proper solar filters. Most sell them separately or include them. Do not skip this step.
Over $1,000: Stabilized optics and manual control
Go past $1,000 and the options explode.
I would skip the complicated mounts and go for image-stabilized binoculars. Canon 10x42L, Canon 15×50 All Weather. The Canon 12×36 is another strong contender.
These combine premium optics with stabilization tech. They remove hand shake. That is critical when you are looking for detail in the solar corona during totality.
If you chase eclipses every few years? These are worth it. Just for those few minutes of darkness.
Use the same filter trick: cover one lens, filter the other. It is safe. It works.
If you want to get serious about photography, add a mirrorless or DSLR camera. Pair it with a zoom lens. Or a telescope on a tracking mount. You will need a sturdy tripod. Quality solar filters. And a wide-angle lens for the night part.
You can’t image the Perseids or the Milky Way with a telephoto lens. So pack wide-angle glass.
Research, rehearse, and prepare
More gear does not mean a better experience.
Every eclipse, there are photographers carrying thousands of dollars in equipment. First-timers included. They spend totality tweaking camera settings. They miss the show.
Time is your best investment.
Research your location. Rehearse your filter changes. Arrive early. Settle in.
Whether your budget is $500 or $5,000. Whether you are in Iceland or Iowa. The best kit is the one that lets you experience the sky.
Totality is priceless. Do not miss it because you were busy fiddling with aperture.